In the 1970s, audio cassette tapes revolutionized how people listened to music, offering a portable and convenient alternative to vinyl records and reel-to-reel tapes. However, to get the best experience from these tapes, users needed to follow certain practices. Here are 10 essential tips from the era to help you choose and care for your audio cassette tapes:
1. Understand the Advantages of Cassettes
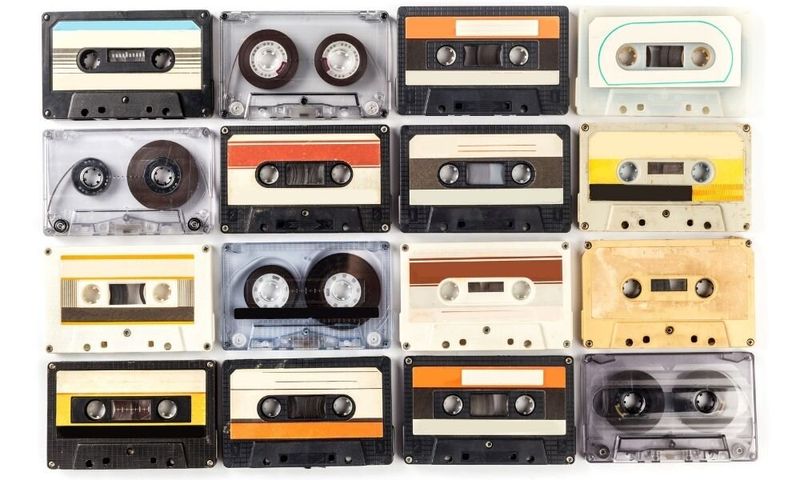
Cassettes made music as mobile as a pocket radio. Their compact form ensured they fit easily into bags, making them perfect for on-the-go listening. With a quick flip, you could change up your tunes without fuss. Audiophiles found their sound quality surprisingly comparable to the bulkier reel-to-reel tapes. However, splicing them required expertise due to their delicate nature. Even so, their convenience made them a beloved choice for music lovers everywhere. Embrace the ease and portability of cassettes, a revolution in music accessibility!
2. Know the Tape Composition
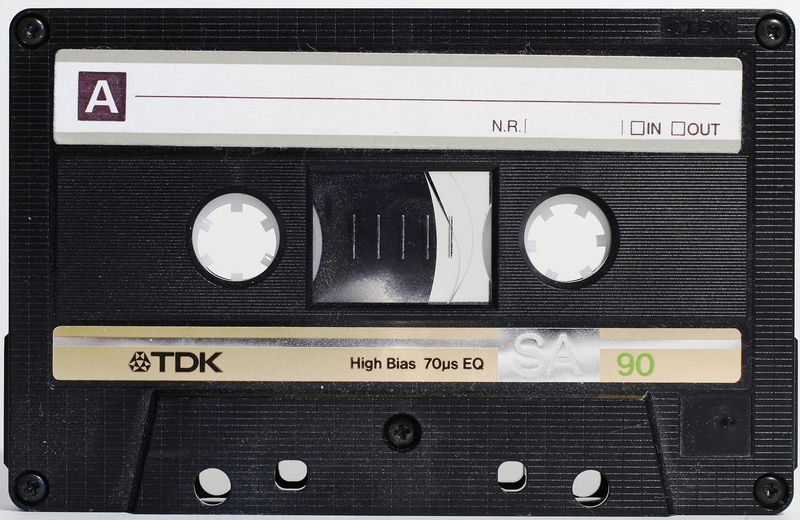
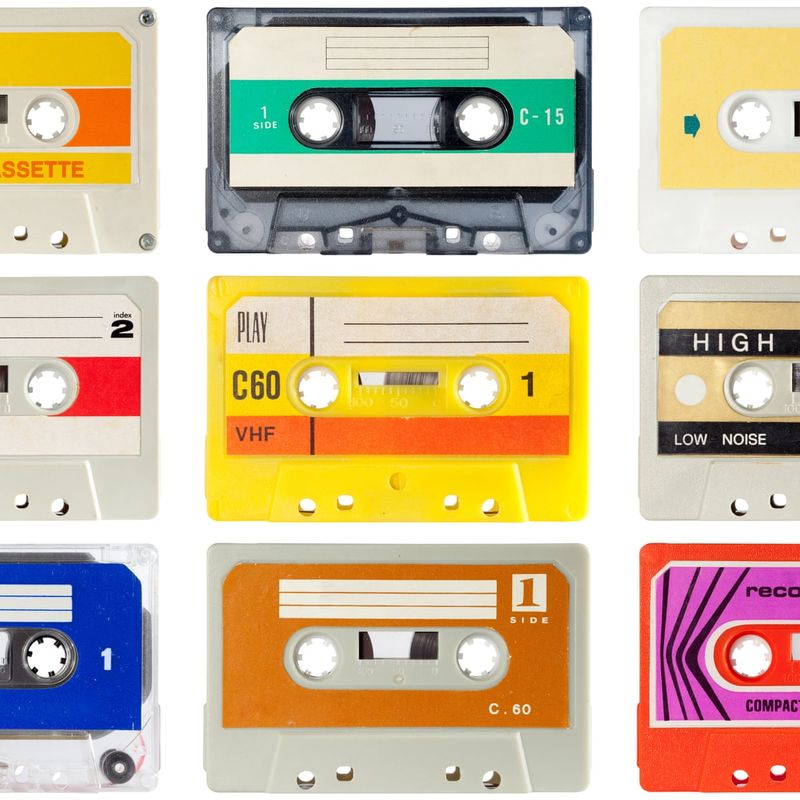
Ever wondered what’s inside a cassette? It’s a marvel of 1970s tech! With a plastic base coated in magnetic particles like ferric oxide, these tapes captured every note and beat. Polyester bases soon replaced paper for added durability. Labels often hinted at these materials, giving insight into your tape’s quality. So next time you pop a cassette into your player, remember the intricate layers that worked harmoniously to deliver your favorite tunes. A glance at these components reveals how music was wonderfully wrapped in magnetic magic.
3. Choose High-Quality Tapes
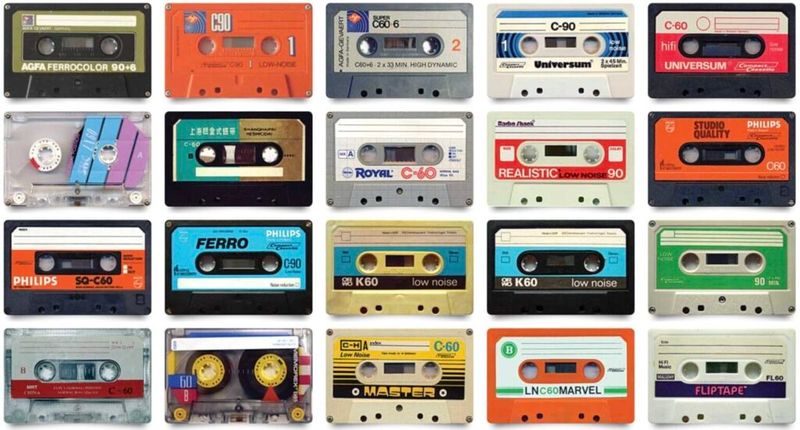
The secret to stellar sound lies in the tape’s quality. In the 1970s, reputable brands ensured even dispersion of magnetic particles across the tape, avoiding those pesky sound interruptions. Consistent tape width played a vital role in delivering smooth playback and recording. Brands became trusted companions for music enthusiasts who wanted nothing but the best for their playlists. When selecting tapes, look for well-known names that guarantee a harmonious sound experience. Your ears—and your music collection—will thank you for choosing wisely!
4. Prevent Tape Jams
Nothing ruins a musical moment like a jammed tape! To dodge this dilemma, tapes with textured carbon backcoating were a game-changer. This nifty feature trapped air between layers, ensuring an even wind and reducing static build-up. The result? A seamless listening experience with minimal disruptions. Next time you slide a tape into your player, you’ll appreciate this small yet mighty enhancement. It’s the little things that keep the music flowing without a hitch, letting you enjoy each note uninterrupted.
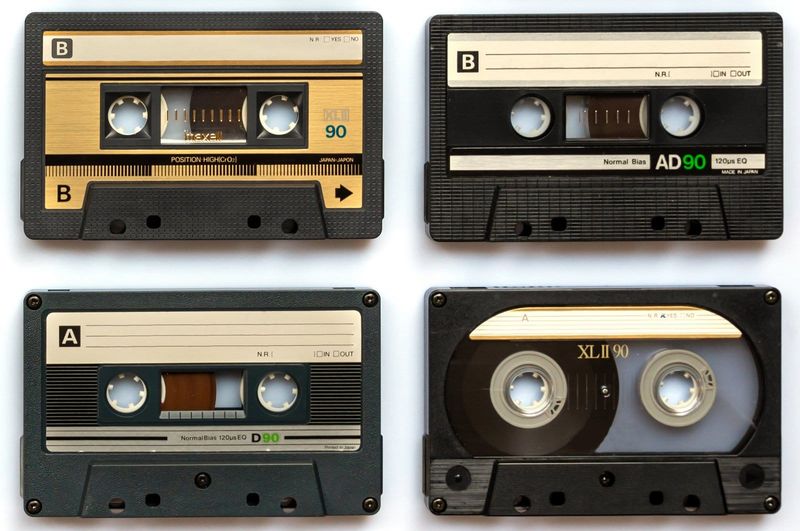
5. Match Tape Type to Recording Needs
Choosing the right tape is like picking the perfect wine for an occasion—each has its purpose! Ferrichrome tapes were prized for high-fidelity music recordings. Meanwhile, standard low-noise tapes were perfect for capturing voices during lectures or speeches. Your recording needs dictate the best tape type, ensuring optimal sound quality. Whether you’re preserving a beloved concert or an important lecture, selecting the right tape is key. It’s all about matching the music to the moment, making every recording special.
6. Consider Recording Time and Tape Length
Tape length is more than just numbers—it’s about balancing time against durability. Standard lengths like 60, 90, and 120 minutes offered flexibility but came with trade-offs. Longer tapes used thinner material, making them more fragile. Plus, recording speed mattered, set at a standard 1-7/8 inches per second. This balance ensured that whether you were recording an epic album or a brief interview, your tape would deliver without faltering. Choose wisely to keep your recordings intact and timeless.
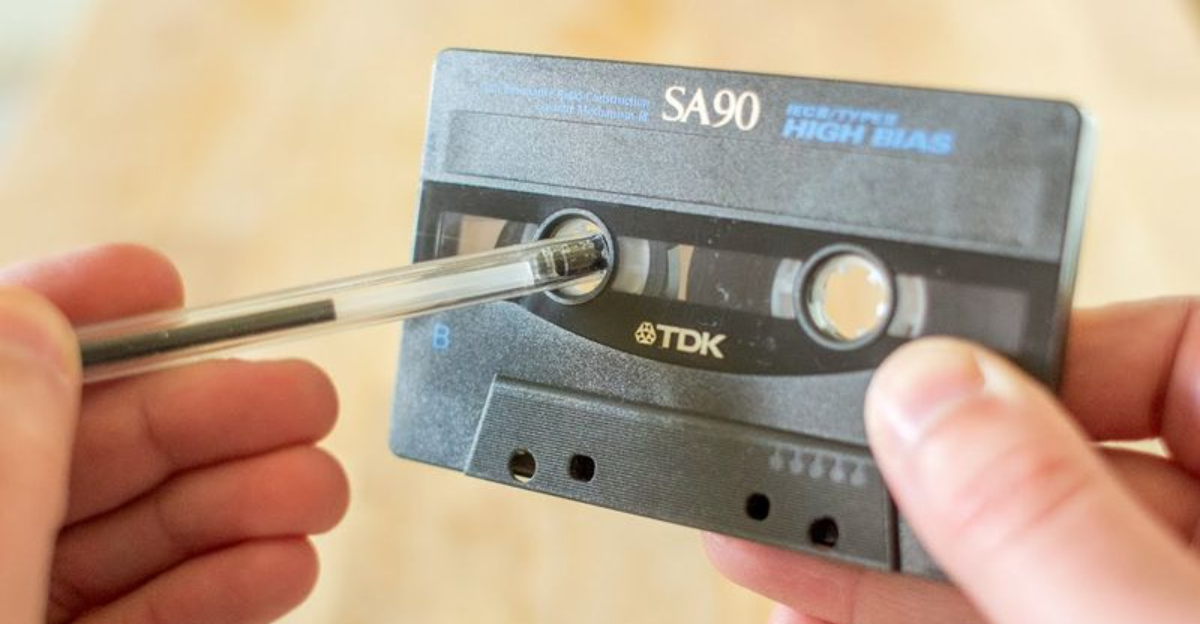
7. Eliminate Tape Slack Before Use
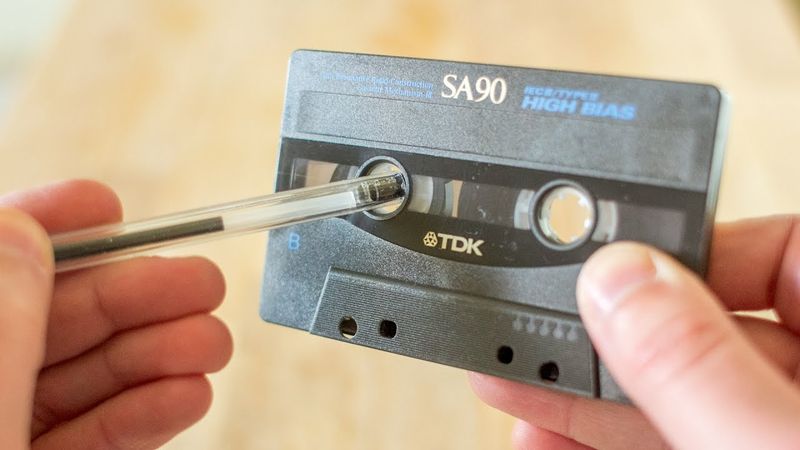
Before pressing play, there’s a little trick that makes a big difference. Insert a pencil into the cassette hub and give it a few turns. This tightens the tape, eliminating slack that could lead to jams or playback issues. It’s a simple ritual that ensures your listening experience is as smooth as the tunes themselves. So grab that pencil, wind away, and enjoy music without a hitch. It’s a small step that promises big rewards in sound quality and tape longevity.
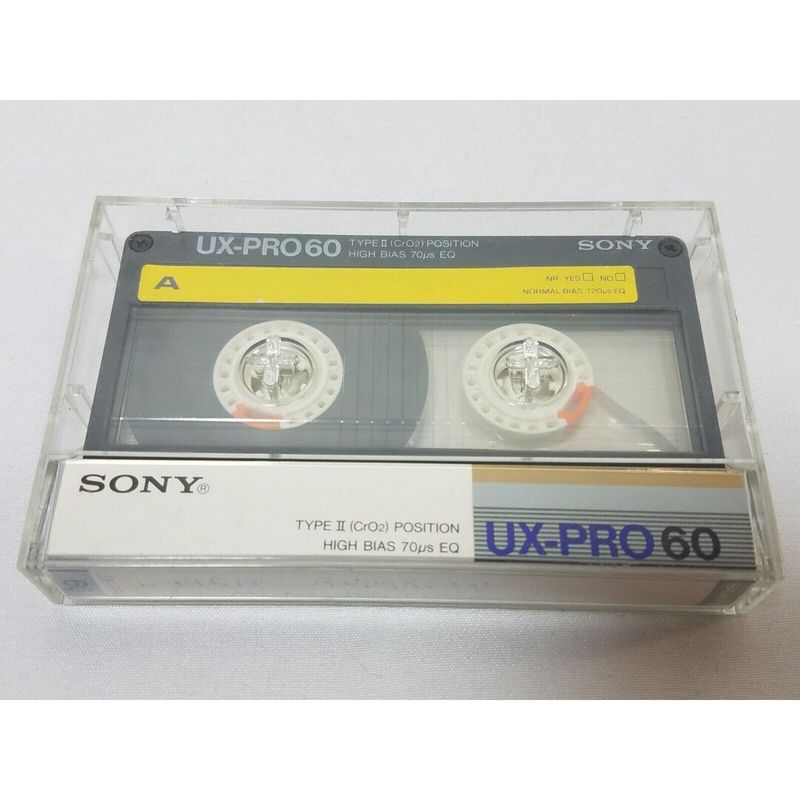
8. Use Chrome Tapes with Compatible Equipment
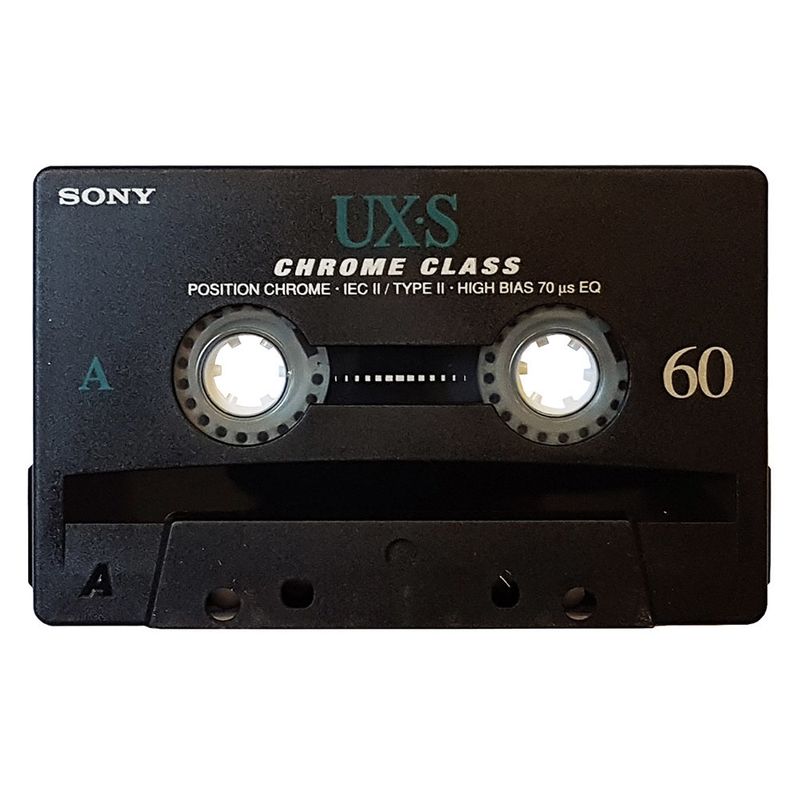
For the music connoisseur, chrome tapes were a revelation. Their superior sound quality deserved the right equipment. Ensure your player has the chrome switch activated for optimal audio performance. This setting unlocks the full potential of chromium dioxide tapes, enhancing playback with vibrant detail. It’s like having a concert in your living room! Make sure your equipment matches your tape’s prowess, creating an audio experience that’s truly a cut above. Embrace the harmony of high-tech and high-fidelity.
9. Store Tapes Properly
Proper storage safeguards your sonic treasures. Keep tapes cool, avoiding extreme heat like summer car interiors that warp plastic cases and damage tape. Store them in their cases, away from magnets and dust, to preserve sound quality. Regularly played or not, this care ensures longevity and pristine audio. Treat your tapes with the same love as your favorite records, and they’ll serenade you with perfect melodies for years. A little attention goes a long way in preserving musical memories.
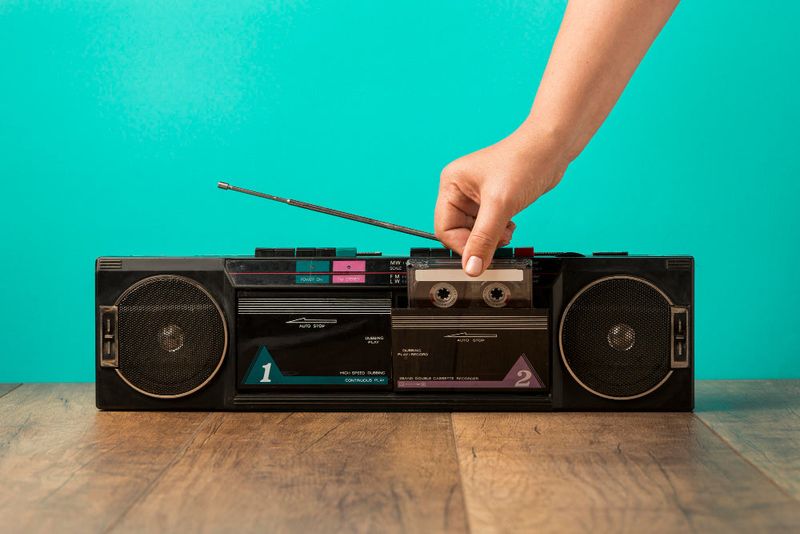
10. Play Tapes Periodically

To keep tapes in tip-top shape, give them a spin at least once every six months. Regular playback prevents the tape from sticking or developing adhesions, maintaining sound quality and longevity. It’s not merely maintenance—it’s a chance to relive the magic of past recordings. Each playthrough is a journey back to cherished moments, ensuring they’re as vibrant as the day they were captured. Embrace this routine, and your tapes will sing their stories with clarity and warmth.